
Last updated October 17, 2026
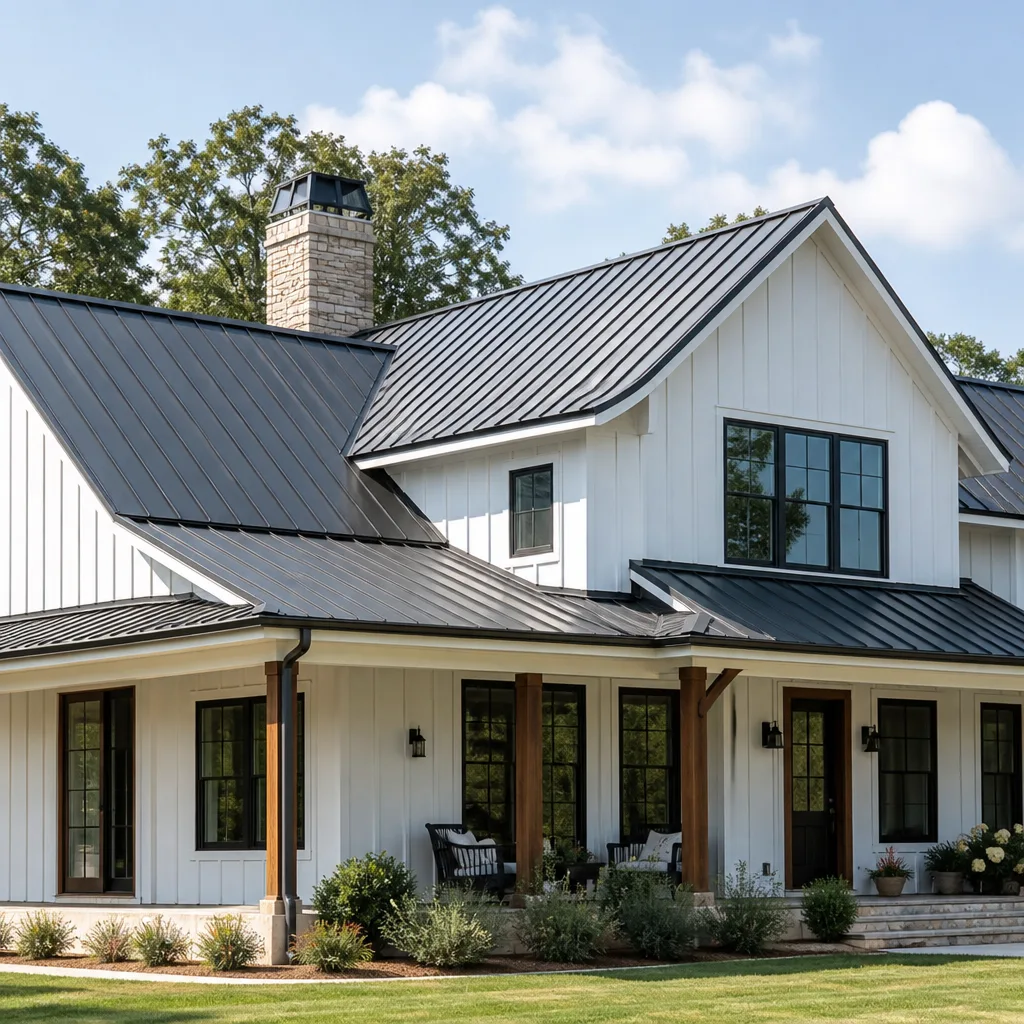 Metal roofing
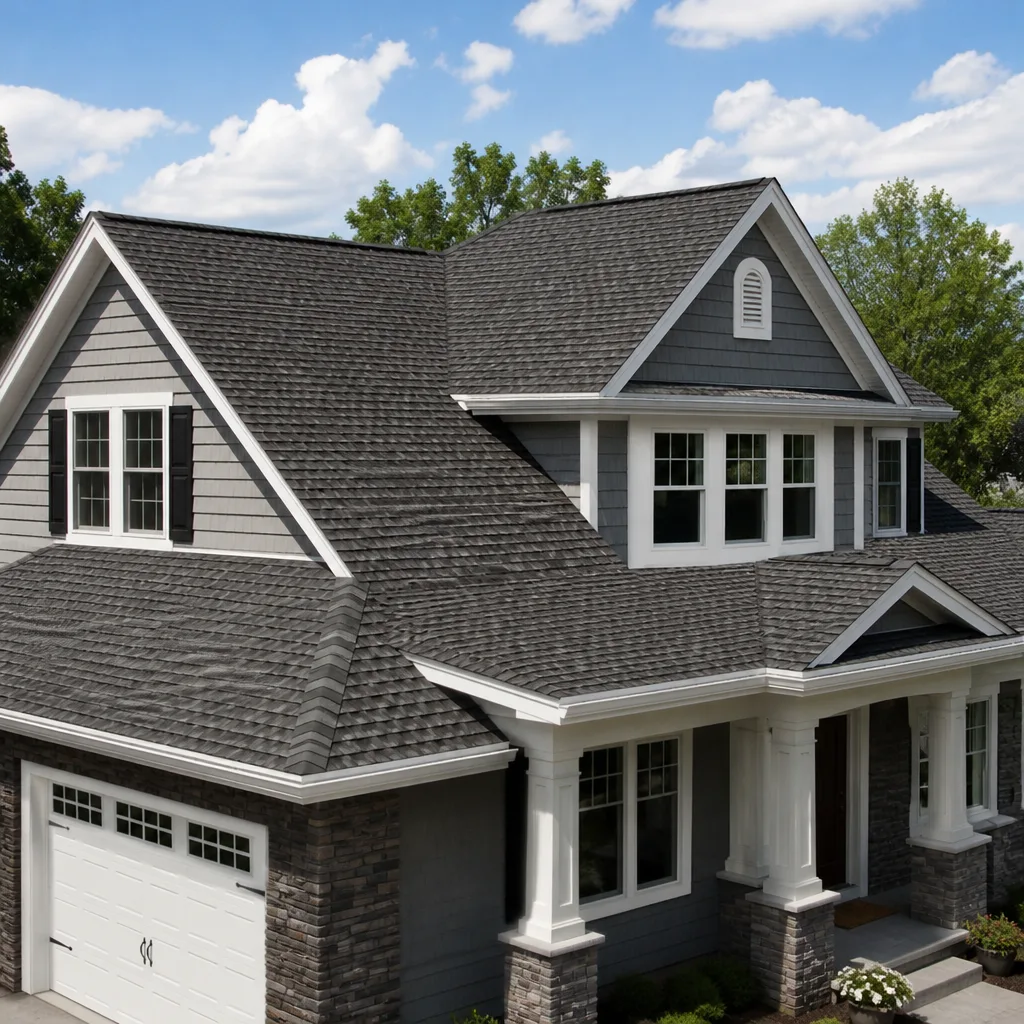 Architectural shingles
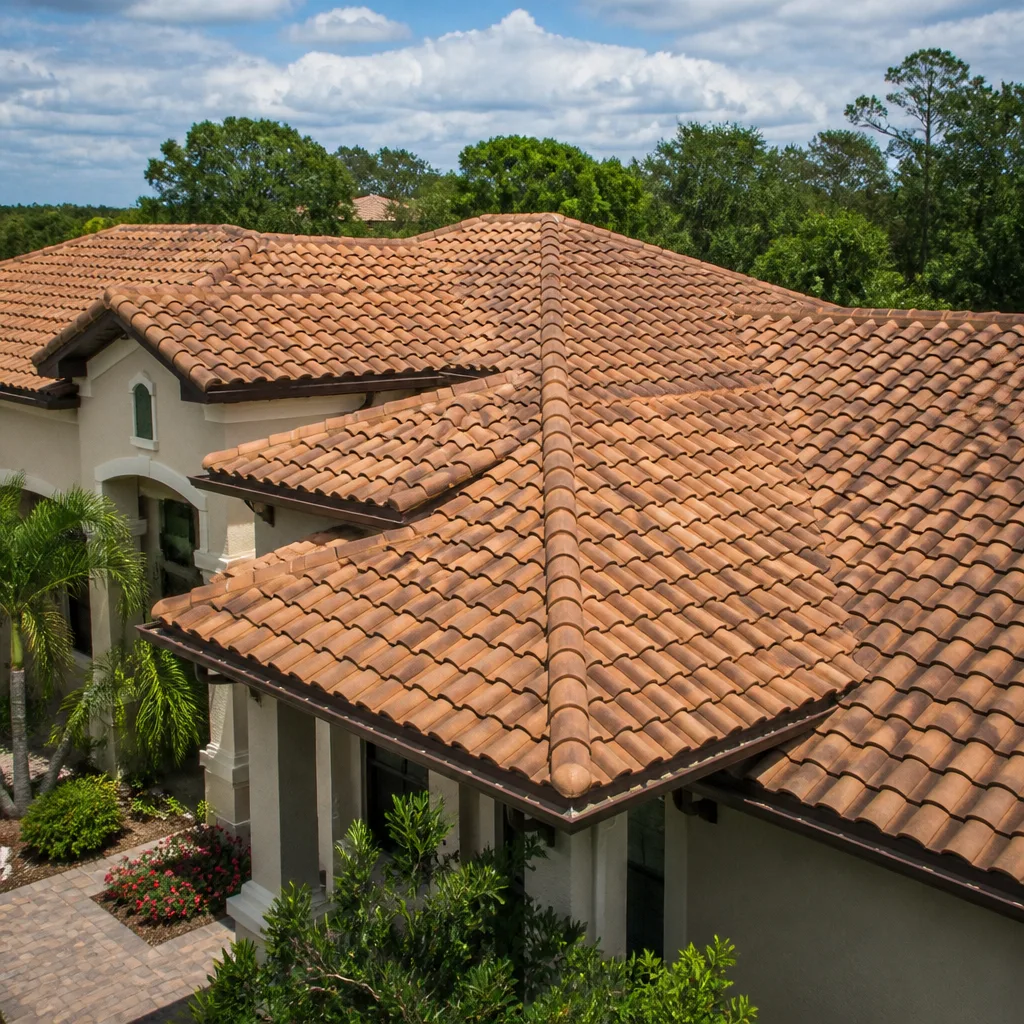 Tile roofing
 GAF
GAF Owens Corning
 Flat & low-slope
Free roof inspection with deck photos before we talk money - GAF and Owens Corning certified installation
DIY vs Professional Roofing: The San Antonio Homeowner’s Decision Guide
A San Antonio homeowner who patches their own roof after a hailstorm with matching shingles may save $400, and inadvertently give their insurance company grounds to deny a full replacement claim by establishing that the “damage was repaired,” resetting the adjuster’s damage baseline. That single example explains why the DIY-versus-professional roofing question resists a clean answer. Some roof work is genuinely safe and cost-effective for a capable homeowner. Other work carries liability, warranty, and insurance consequences that make doing it yourself a false economy no matter how handy you are. This guide gives you the clear framework San Antonio homeowners need to sort one from the other, before you climb a ladder or write a check.
Styles & brands we work with
Quick Answer
Most San Antonio homeowners can safely handle minor repairs like gutter reattachment, exposed nail sealing, and pipe boot caulking, which typically cost $15 to $60 in materials. Anything involving structural decking, flashing replacement, steep pitches above 8/12, or a roof under active manufacturer warranty should go to a licensed professional, because those jobs carry injury risk and financial consequences that outweigh the labor savings.
Table of Contents
- The Three-Category Framework: Safe DIY, Smart DIY, and Don’t DIY
- The Insurance Claim Scenario Where DIY Actively Hurts You
- San Antonio Rooftop Safety Realities: Pitch, Heat, and Fall Risks
- Manufacturer Warranties: What “Certified Installer” Actually Means
- The Hybrid Approach: When Splitting the Work Makes Sense
- What DIY Actually Costs vs. Hiring a Pro in San Antonio
- Tools and Materials: What You Need Before You Start
- Common Mistakes to Avoid
- When to Call a Professional
- Frequently Asked Questions
- The Bottom Line
The Three-Category Framework: Safe DIY, Smart DIY, and Don’t DIY
Every roofing task falls into one of three buckets, and the bucket matters more than your skill level. We’ve walked enough San Antonio roofs over the years, from Alamo Heights to Stone Oak, to know that a homeowner who can identify which bucket a repair belongs in has already made the most important decision correctly.
Category 1: Repairs Any Capable Homeowner Can Do Safely
These jobs sit near the roof edge or involve small, isolated problems that don’t compromise the roof’s water-shedding integrity. They require basic tools, take under an hour, and cost between $15 and $60 in materials from any San Antonio hardware store.
- Gutter reattachment: Loose gutters pull away from fascia boards after heavy rain, which San Antonio gets in concentrated spring and fall bursts. Reattaching a gutter with galvanized gutter screws takes a drill, a ladder, and about 20 minutes per bracket. You’re working at ladder height, not on the roof itself.
- Exposed nail sealing: Roofing nails pop up as wood expands and contracts through San Antonio’s temperature swings. If you can see a nail head on an exposed surface, a dab of roofing cement or a polyurethane sealant covers it in seconds. Watch for nails that have backed out enough to create a gap under the shingle above, that’s when you need a pro to check for decking damage.
- Pipe boot caulking: The rubber boot around vent pipes dries and cracks in the Texas sun, typically after 8-12 years. Caulking the base where the boot meets the pipe with a high-quality exterior sealant costs under $15 and takes 15 minutes. You’re working on or near the roof surface, so only attempt this if your roof is a walkable pitch and you have a stable ladder setup.
These are the jobs where DIY makes uncomplicated sense. You save the $150-$300 minimum service call fee that most San Antonio Roof Repair in San Antonio companies charge just to show up, and you aren’t touching anything that affects your insurance or warranty standing.
Category 2: Repairs Where DIY Saves Money Without Warranty Risk
This is the narrow band where a capable homeowner with the right materials can genuinely save money. The key conditions: your roof is not under manufacturer warranty, the pitch is walkable, and you’re replacing like-for-like materials.
Single-tab or single-shingle replacement ranks as the most common Smart DIY job. If wind lifted one shingle and you can see no damage to the underlayment or decking beneath, replacing that one shingle costs $3-$8 in materials. A Roofing Company in San Antonio charging a minimum service call might bill $200-$350 for the same job, mostly labor and dispatch overhead, not materials.
But the Smart DIY label depends on three honest checks. First: can you identify the exact shingle brand and color? A mismatched shingle on a San Antonio roof looks worse every year as sun fading diverges the two materials. Second: is the surrounding roof in good enough condition that the new shingle won’t simply become the first of many? Third: can you do the work without walking on shingles you aren’t replacing? Foot traffic on older shingles, especially in the summer when San Antonio roofs reach 140-160 degrees, causes granular loss that shortens roof life.
Category 3: Repairs Where DIY Creates Downstream Liability
This category is the one most DIY guides skip. These are jobs where the quality of your work matters almost zero, because the act of doing the work itself creates liability.
- Flashing replacement: Flashing is the metal that seals roof transitions at chimneys, valleys, and walls. Improper flashing installation is the leading cause of roof leaks, and a leak that starts at bad flashing travels into wall cavities and insulation before you see a stain. Once water enters a wall system in San Antonio’s humidity, you’re dealing with mold remediation that costs $2,000-$6,000 on top of the roof repair.
- Roof decking repair: If you can see soft spots, sagging, or water-stained plywood from the attic, that’s structural work. Patching decking requires removing shingles and underlayment in a large enough area to inspect the trusses, which means you’ve opened a hole in your roof that must be fully sealed the same day. A single afternoon thunderstorm during San Antonio’s summer monsoon pattern can turn an open decking patch into an interior flood.
- Any work on a roof under manufacturer warranty: We’ll cover the warranty specifics below, but the short version: if your shingles carry a GAF, Owens Corning, or CertainTeed warranty that requires certified installer application, your DIY repair can void the entire warranty. You haven’t just fixed a shingle, you’ve converted a covered replacement into an uncovered one.
The Insurance Claim Scenario Where DIY Actively Hurts You
Here’s the scenario we opened with, now in detail, because it’s the most expensive mistake a San Antonio homeowner makes after a hail storm.
Hail hits Alamo Ranch. You find six shingles with impact marks, so you climb up, pull the damaged tabs, and nail down six matching replacements from a leftover bundle in the garage. It takes two hours and costs thirty dollars. You pat yourself on the back. Then you call your insurance company to file a claim for what you assume is a full replacement, because the roof is 14 years old and hail damage typically means new shingles.
The adjuster arrives and sees six new shingles where hail damage once existed. The adjuster’s report now documents that the “hail-damaged shingles were replaced by the homeowner prior to inspection.” Your claim for a full replacement is now contested, because the primary physical evidence of hail damage has been altered. The insurance company can reasonably argue that the only verifiable hail damage was to six shingles, which have already been repaired, and that any remaining shingle condition issues stem from normal aging, which isn’t a covered peril.
What should you have done instead? Photographed everything before touching anything. And we mean everything: wide shots showing the roof orientation, close-ups showing impact marks with a coin or ruler for scale, attic shots showing any water staining, and date-stamped photos of the storm aftermath if possible. Then call your insurance company and file the claim while the damage is still visible and unaltered. Then let the adjuster complete their inspection. Then, and only then, discuss with your contractor whether temporary repairs are needed to prevent further damage while the claim processes.
The rule that matters here: the adjuster’s job is to document the roof’s condition at the time of the claim. Your job is to preserve that condition, not improve it. Every San Antonio roofer who has worked a hailstorm season, and we’ve worked several, has seen this exact scenario play out. The $400 you save on the front end becomes a $14,000-$22,000 out-of-pocket replacement on the back end.
One more insurance note that San Antonio homeowners miss: most policies require you to take “reasonable steps to prevent further damage” after a storm. That doesn’t mean repairing the roof. It means tarping a leaking area, moving valuables away from a ceiling stain, and documenting the water ingress. Temporary protection preserves your claim. Permanent repair before inspection can compromise it.
San Antonio Rooftop Safety Realities: Pitch, Heat, and Fall Risks
San Antonio’s standard roof pitch is 6/12, meaning the roof rises six inches for every twelve inches of horizontal run. That’s steep enough to be felt in your calves, but walkable with caution in dry conditions. Most single-story San Antonio homes built between the 1960s and 1990s sit in that 5/12 to 7/12 range, and that’s why so many San Antonio homeowners have successfully done minor roof work.
But San Antonio’s housing stock includes plenty of homes outside that range. Newer neighborhoods like Cibolo Canyons and older hillside builds in parts of northwest San Antonio commonly feature 8/12, 9/12, and even 10/12 pitches. Above 8/12, a fall is not a theoretical risk. It’s the expected outcome of any meaningful slip, because a 9/12 pitch exceeds the friction angle of most roofing materials under a rubber-soled shoe. Fall-arrest equipment, harnesses, roof anchors, and the training to use them correctly, is standard on professional job sites and almost never present in a homeowner’s garage.
Then there’s the heat. From June through September, San Antonio roof surface temperatures routinely reach 140 to 160 degrees Fahrenheit. That’s not uncomfortable, it’s dangerous. Shingles soften at those temperatures, which means every step you take causes granular loss that shortens the roof’s functional life. And the heat accelerates dehydration and fatigue in ways that make a two-hour job feel like a six-hour ordeal. Most professional crews in San Antonio start roof work at or before dawn during the summer and finish before 2 p.m. for exactly this reason.
Tile roofs add their own hazard. Clay and concrete tile, common on higher-end San Antonio homes in places like The Dominion and Sonterra, is brittle and slippery. A tile that looks solid can crack under foot pressure, and a cracked tile is another leak point. Walking tile requires knowing where to step, on the lower third of each tile over the batten, and most homeowners don’t. If you have tile and you need it worked on, call a pro. The cost of a broken tile or a fall exceeds the labor savings on day one.
Safety caveat: any roof work carries fall risk, and the injuries from even a single-story fall are life-altering. If you are not confident on a ladder, do not get on a roof. Even “safe” Category 1 jobs are only safe if you have a stable ladder, a spotter, and dry conditions. No repair is worth a fractured vertebra.
Manufacturer Warranties: What “Certified Installer” Actually Means
Here’s the part of the DIY conversation that almost no one covers, and it’s the one with the biggest financial swing.
Most major shingle manufacturers, GAF, Owens Corning, CertainTeed, and IKO among them, sell shingles with two types of warranty. The standard limited warranty covers manufacturing defects on a prorated basis over the shingle’s stated lifespan. The enhanced warranty, often called a “system” or “roofing system” warranty, covers both materials and workmanship for a longer period, sometimes the life of the roof, but only applies when a manufacturer-certified contractor installs the roof.
What does “certified” mean? Each manufacturer runs its own program. GAF has Master Elite certification. Owens Corning has the Owens Corning Roofing Contractor Network. CertainTeed has Select ShingleMaster. These programs require contractors to meet minimum insurance thresholds, pass manufacturer training, maintain a certain volume of installations, and submit to periodic review. The manufacturer extends its warranty coverage because it trusts the certified installer to install shingles to the manufacturer’s spec.
The clause that matters to a DIY-minded homeowner: most of these enhanced warranties include language stating that repairs or modifications performed by anyone other than a certified contractor void the warranty. Not just void coverage for the repaired section. Void the warranty, period, across the entire roof.
So here’s the decision tree. First, find out whether your roof is under an enhanced manufacturer warranty. Check the paperwork from your Roof Installation in San Antonio, or contact the manufacturer with your address and install date. If yes, any DIY repair beyond Category 1 gutter and sealant work is a financial risk you shouldn’t take. If no, and the roof is more than ten years old, your manufacturer warranty is probably expired or nearly so, and the warranty concern drops away.
One nuance worth understanding: Boral, which makes stone-coated steel and tile roofing products, operates similarly to the shingle manufacturers. The materials are different, but the warranty structure follows the same logic: certified installer required for the full coverage, DIY repairs void the coverage. If your San Antonio home has a Boral stone-coated steel roof and you’re thinking about DIY maintenance, read your warranty document first.
The practical takeaway: warranty status is a binary gate. If the roof is under an enhanced warranty, DIY repair on the shingle surface is almost never worth the financial risk. If the warranty is expired, the decision moves to the other factors in this guide: safety, skill, and the insurance scenario above.
The Hybrid Approach: When Splitting the Work Makes Sense
One of the most underused strategies in San Antonio roofing is the hybrid approach: hire a licensed contractor for the structural, flashing, and waterproofing work, and handle the non-structural cosmetic items yourself. Done right, this cuts labor costs by 30-50% on a given scope without cutting corners on accountability.
Here’s how the hybrid works in practice:
- Identify the structural and waterproofing scope. This means decking repair, flashing replacement, underlayment installation, and anything touching a valley, chimney, or wall transition. These are the jobs where professional accountability matters, because the failure mode is interior water damage that costs ten times the repair itself.
- Get a written quote for that scope only. Be specific with the contractor about what you’re asking for. “I need valley flashing replaced, three sheets of decking patched, and underlayment installed on the south slope. I’ll handle the gutter reattachment and gutter cleaning myself.” A good contractor will give you a clean line-item quote for the professional scope and tell you plainly what you’re taking on.
- Complete your scope before or after the contractor, never during. Coordinating work schedules with a roofing crew means you’re both on the roof at the same time, which creates safety and liability issues no contractor wants to manage. Do your work first, then the contractor, or vice versa.
- Document the boundary. Take photos before and after the contractor’s work, and make sure the written scope of work says exactly what the contractor is and isn’t responsible for. A written scope is the only thing that matters if something leaks later and you need to know whose work failed.
The hybrid approach isn’t for every job. It works best on maintenance-heavy scopes: a roof replacement isn’t a hybrid candidate, but a “leak diagnosis plus flashing repair plus gutter tune-up” scope can be. The key is that you’re not asking the contractor to finish your work or fix your mistakes. You’re carving out clear ownership of non-structural items and leaving the accountability items with the pro.
What you should not do under the hybrid model is touch anything that intersects with the contractor’s waterproofing work. If you reattach a gutter but accidentally drive a screw through the eave flashing the contractor just installed, you’ve created a leak that no one will take responsibility for. Stay in your lane, literally, and the hybrid works.
What DIY Actually Costs vs. Hiring a Pro in San Antonio
Let’s put real numbers on the table, because the DIY-versus-pro decision is ultimately a pricing question masked as a values question. These are San Antonio market ranges as of 2026.
| Repair Type | DIY Materials Cost | Professional Cost in San Antonio | Risk Level |
|---|---|---|---|
| Gutter reattachment (per 6 ft section) | $8-$20 | $90-$180 | Low |
| Exposed nail sealing (10-15 nails) | $10-$15 | $120-$200 | Low |
| Pipe boot caulking | $12-$18 | $130-$220 | Low to Moderate |
| Single shingle replacement | $3-$8 per shingle | $200-$350 (minimum service call) | Moderate |
| Pipe boot replacement (full) | $25-$40 | $250-$450 | Moderate |
| Flashing repair at chimney | $30-$60 (materials only) | $400-$900 | High |
| Decking patch (single sheet) | $40-$70 (materials only) | $500-$1,200 | High |
| Full roof replacement (1,800 sq ft) | $4,000-$6,000 (materials only, no labor) | $11,000-$16,000 | Extreme – Don’t DIY |
The pattern here is clear. The savings on low-risk Category 1 jobs are real but modest, $80-$150 per job. The savings on Category 3 jobs look larger in absolute terms, $500-$900, but the downside risk, a botched flashing repair that leads to $3,000 in ceiling and insulation damage, eats the savings five times over. And the full replacement line is a non-starter: no San Antonio homeowner should attempt a full reroof, full stop.
One more cost factor San Antonio homeowners forget: your time and physical wear. A single shingle replacement that takes a pro 30 minutes takes most first-time DIYers three hours, including the double trip to the hardware store for the right nail type and the YouTube tutorial. At your earnable hourly rate, that DIY “savings” shrinks fast. And that’s before you account for the chiropractor visit after a day on a 6/12 pitch.
Tools and Materials: What You Need Before You Start
If you’ve read this far and you’re a confirmed Category 1 or Category 2 DIY candidate, here’s the minimum kit required. Buy it before you start, not during, because the mid-job hardware store run is where most DIY roof jobs fall apart, literally and figuratively.
The Minimum San Antonio DIY Roofing Kit
- Extension ladder with standoff arms: The standoff arms keep the ladder off the gutter and prevent gutter denting. You need enough height to reach the roof edge with at least three rungs above the contact point. For a standard one-story San Antonio home, that’s a 24-foot ladder minimum.
- Roof harness and anchor: Even on a 6/12 pitch, a fall-arrest harness is the difference between a scare and a hospital visit. Roof anchors bolt into the decking and stay in place after the job. You can get a basic harness and anchor kit for $120-$180. If that feels like too much money, re-read the safety section above.
- Roofing nails (1-1/4 inch galvanized): Do not use standard framing nails. Roofing nails are galvanized to resist the moisture that gets trapped under shingles, and the 1-1/4 inch length is calibrated for the shingle and underlayment depth. Using the wrong nail means the repair fails in two years from rust or pull-through.
- Roofing cement or polyurethane sealant: For Category 1 work, you want a sealant rated for exterior roof use. Avoid interior caulk. It fails under San Antonio’s UV exposure within a single summer.
- Flat pry bar: For lifting the tab of an existing shingle to access a nail, a flat pry bar works better than a claw hammer. It gives you leverage without tearing the shingle above.
- Replacement shingles that match: If you don’t know the exact brand and color, take a photo of your roof in daylight and bring a sample shingle to a San Antonio roofing supply house. Most will match it. A slightly-off match on a front-facing slope is visible from the street and hurts resale value.
- Roofing gloves with grip: Standard leather work gloves slip on shingle granules, especially in heat. Get roofing-specific gloves with rubberized grip surfaces.
- Soft-soled shoes: Anything with a rigid sole grips poorly on granulated shingles. Soft, flat-soled shoes, ideally approach shoes or old running shoes, give the best purchase.
For Category 2 single-shingle replacement, add roofing felt or synthetic underlayment if the area around the repair shows any wear, plus a utility knife with hooked blades for clean cuts. And before you start any roof work, check the San Antonio forecast. The window where it does not rain and the temperature stays under 100 degrees on the roof surface is smaller than most people think, roughly 7 a.m. to 11 a.m. from June through September.
Common Mistakes to Avoid
- Filing an insurance claim after doing DIY repairs. We covered this in depth above, but it bears repeating: photograph first, file, then repair, in that order. Repairing hail damage before the adjuster sees it is the single most expensive insurance mistake San Antonio homeowners make.
- Using the wrong nails. Framing nails rust under shingles and back out within a few years. If you’re not using 1-1/4 inch galvanized roofing nails, you’re installing a future leak.
- Working in San Antonio summer heat without a plan. Start at dawn, finish before noon, hydrate more than you think you need to, and watch for the early signs of heat exhaustion: dizziness, confusion, and unusual fatigue. A roof at 150 degrees doesn’t care how tough you are.
- Touching flashing when you don’t know how it works. Flashing systems are designed to channel water in specific directions. A single misplaced nail through a flashing seam creates a leak that travels far from the repair site and costs hundreds to diagnose. If you can’t explain in plain English how the flashing on your roof sheds water, don’t take it apart.
- Ignoring your roof’s warranty status. Most homeowners never check whether their roof carries an enhanced manufacturer warranty, and they find out the answer after a DIY repair voids it. Check before you touch, not after.
- Replacing one shingle on a failing roof. If your roof has reached the end of its functional life, nailing a new shingle into a roof that needs replacement is like putting a new tire on a car with a blown engine. The repair won’t stop the leaks, and you’ve spent money and time that should have gone toward the replacement you actually need.
- Doing DIY work on a roof you then try to sell the house with. San Antonio home inspectors in 2026 are looking for unpermitted, unprofessional roof repairs. A visible DIY patch raises red flags for buyers and can knock thousands off your sale price or kill a deal entirely. If you’re planning to sell within three years, lean professional.
When to Call a Professional
Call a professional when the repair touches flashing, decking, underlayment, or any roof surface under manufacturer warranty. Call one when your roof pitch exceeds 8/12, when the material is tile or slate, or when you cannot do the work from a ladder without walking on the roof itself. And call one whenever the job sits anywhere near an active insurance claim, because the cost of a pro is trivial compared to the cost of a denied claim.
If you’re in San Antonio and you’re not sure which category your repair falls into, the cheapest decision you can make is a free estimate. Mercer Roofing Co San Antonio offers free estimates across San Antonio, and you’ll get a written price before any work starts, so there’s no ambiguity about what you’re paying for. Call (254) 276-4369 and you’ll speak to a live person, not a voicemail tree.
Frequently Asked Questions
Yes, minor roof repairs and maintenance that affect less than 100 square feet of roof surface generally do not require a permit in San Antonio. However, full reroofs and structural repairs do require permits, and the San Antonio Development Services Department can confirm scope requirements for your specific property. What “minor repair” means in practice: replacing a few shingles, sealing exposed nails, and reattaching gutters are all typically permit-free. Anything involving decking replacement or structural changes needs a permit and a licensed contractor.
Minor roof repairs in San Antonio, things like sealing exposed nails, caulking a pipe boot, or reattaching a gutter section, typically run $120 to $350 including the minimum service call. Moderate repairs like flashing replacement or a decking patch run $400 to $1,200. Most San Antonio roofing companies charge a minimum service call of $150 to $300 that covers the first hour of labor plus dispatch. Call (254) 276-4369 for an exact quote on your repair, estimates are free.
Doing your own roof repair does not void your insurance policy, but it can void a manufacturer warranty, and doing DIY repairs before filing an insurance claim can undermine the claim itself. An adjuster who finds that hail damage was already repaired before inspection may reasonably conclude that the only verifiable storm damage was to the shingles you replaced, which can turn a full replacement claim into a denied claim or a partial-payout claim. Photograph everything before touching anything, and file the claim before making repairs.
You cannot claim your own labor as covered loss on a homeowner’s insurance claim. The policy covers damage from covered perils like hail, wind, and fire, not preventive or corrective work you choose to perform. If a covered peril caused the damage, file before repairing and let the adjuster document the damage. If you’ve already done the DIY work, you can still file a claim, but the evidence of the original damage has been altered, which weakens your position. Call (254) 276-4369 if you’re unsure whether a repair should happen before or after the claim, the consultation is free.
For most homeowners, a roof pitch between 4/12 and 7/12 is walkable with caution, proper footwear, and dry conditions. San Antonio’s standard 6/12 pitch falls in this range. Above 8/12, the risk of a serious fall increases sharply, and professional fall-arrest equipment becomes necessary, not optional. Tile roofs, which are common on higher-end San Antonio homes, are unsafe to walk regardless of pitch because the tiles crack under foot pressure and provide unreliable footing. If you’re not sure about your roof’s safety, call (254) 276-4369 and a technician can assess the pitch before you commit to anything.
Use the three-category framework from this guide. If the job is gutter reattachment, nail sealing, or pipe boot caulking, and you can do it from a ladder without walking on the roof, DIY is worth it in most cases. If it’s a single-shingle replacement on a walkable pitch with no warranty coverage, DIY can save you money if you have the right tools and can match the shingle. If it’s anything involving flashing, decking, underlayment, or a roof under manufacturer warranty, the financial risk of DIY exceeds the labor savings, and you should call a professional. Call (254) 276-4369 if you want a free professional assessment of the repair before deciding.
The Bottom Line
The DIY-versus-professional roofing decision in San Antonio is not a single answer but a sorting exercise. Gutter reattachment and nail sealing are genuinely safe and cost-effective to do yourself. Single-shingle replacement on a walkable, out-of-warranty roof saves money when done correctly. Flashing, decking, and anything touching an active insurance claim or manufacturer warranty belongs with a licensed professional, not because your workmanship would be bad, but because the consequences of being right-enough are still catastrophic. Sort the job into the right category, respect the insurance and warranty gates, and when you’re not sure, the free estimate is the cheapest tool in your kit. Mercer Roofing Co serves San Antonio homeowners who want a straight answer and a written price before any work begins.
Written by Grant Whitlock, Owner at Mercer Roofing Co San Antonio, serving San Antonio since 2000.
See the difference
 Before
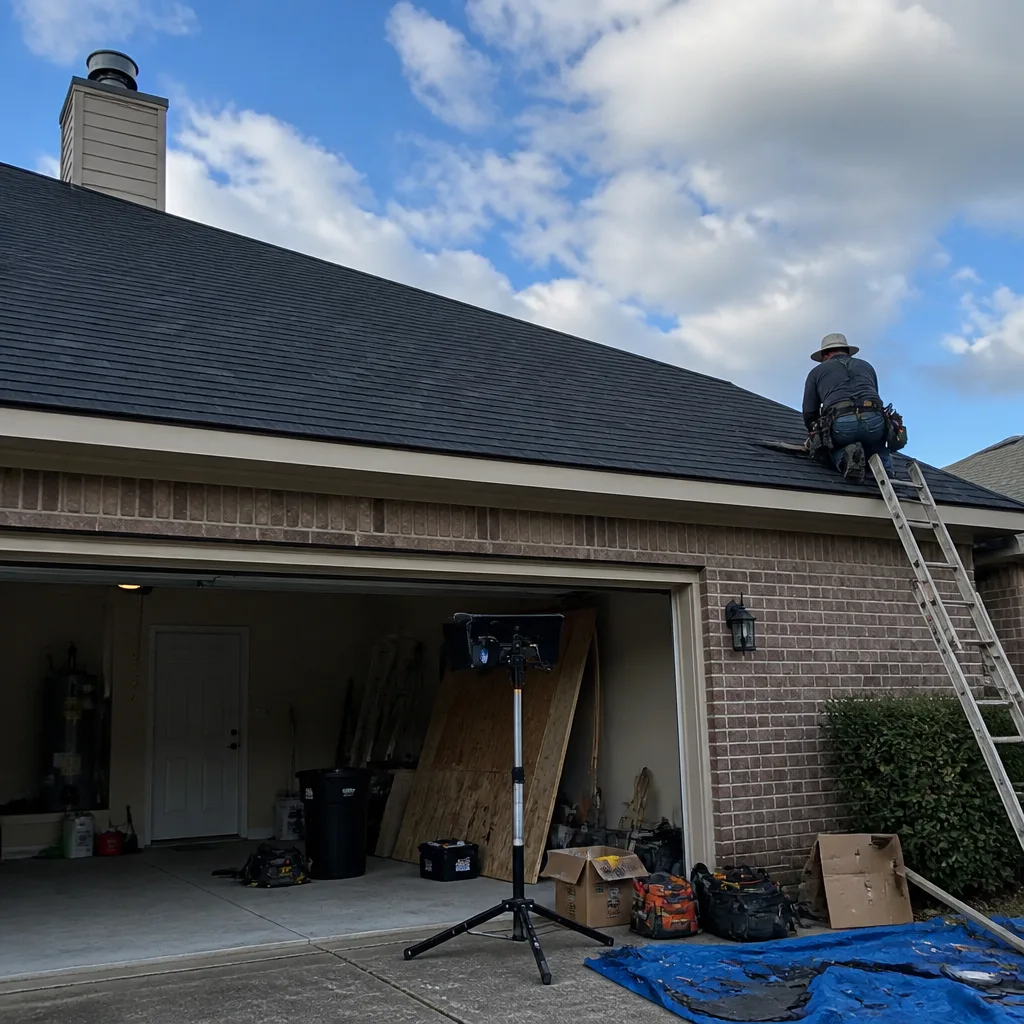
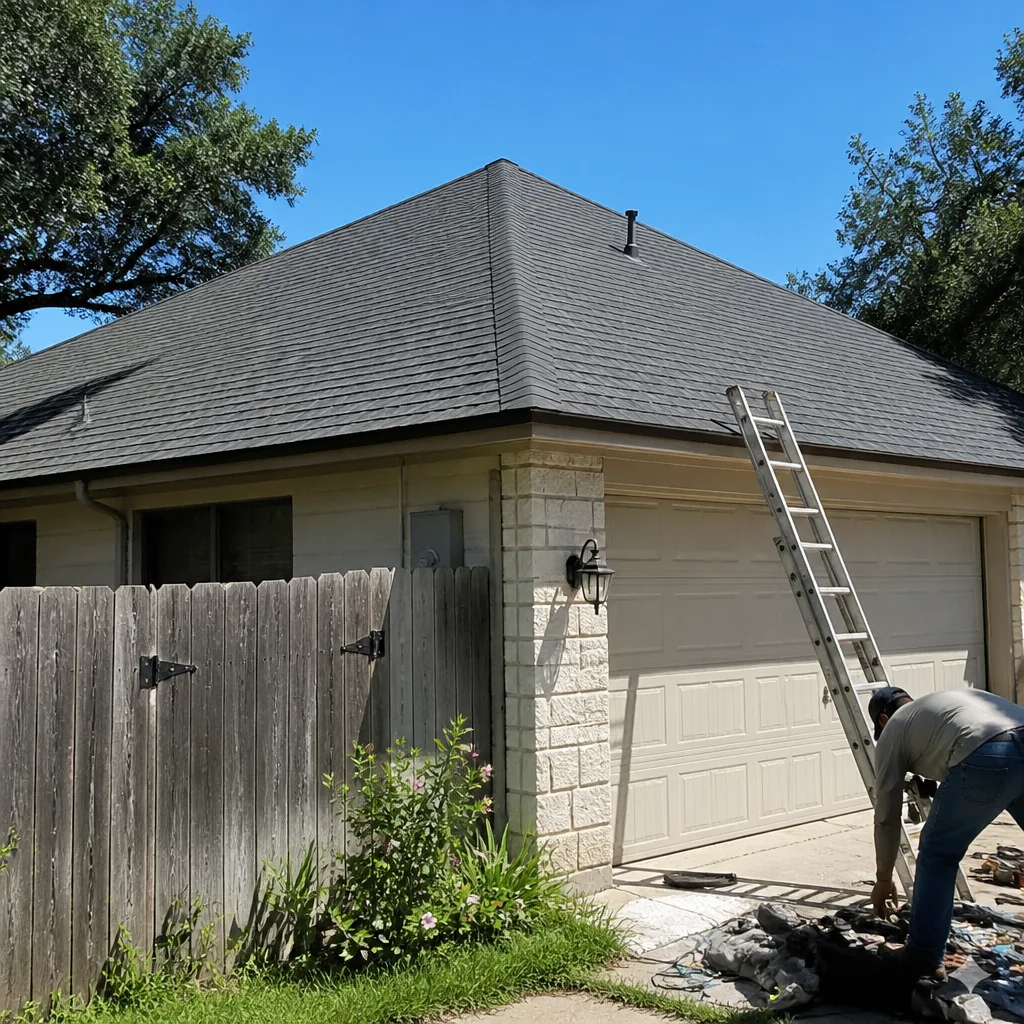
 After
After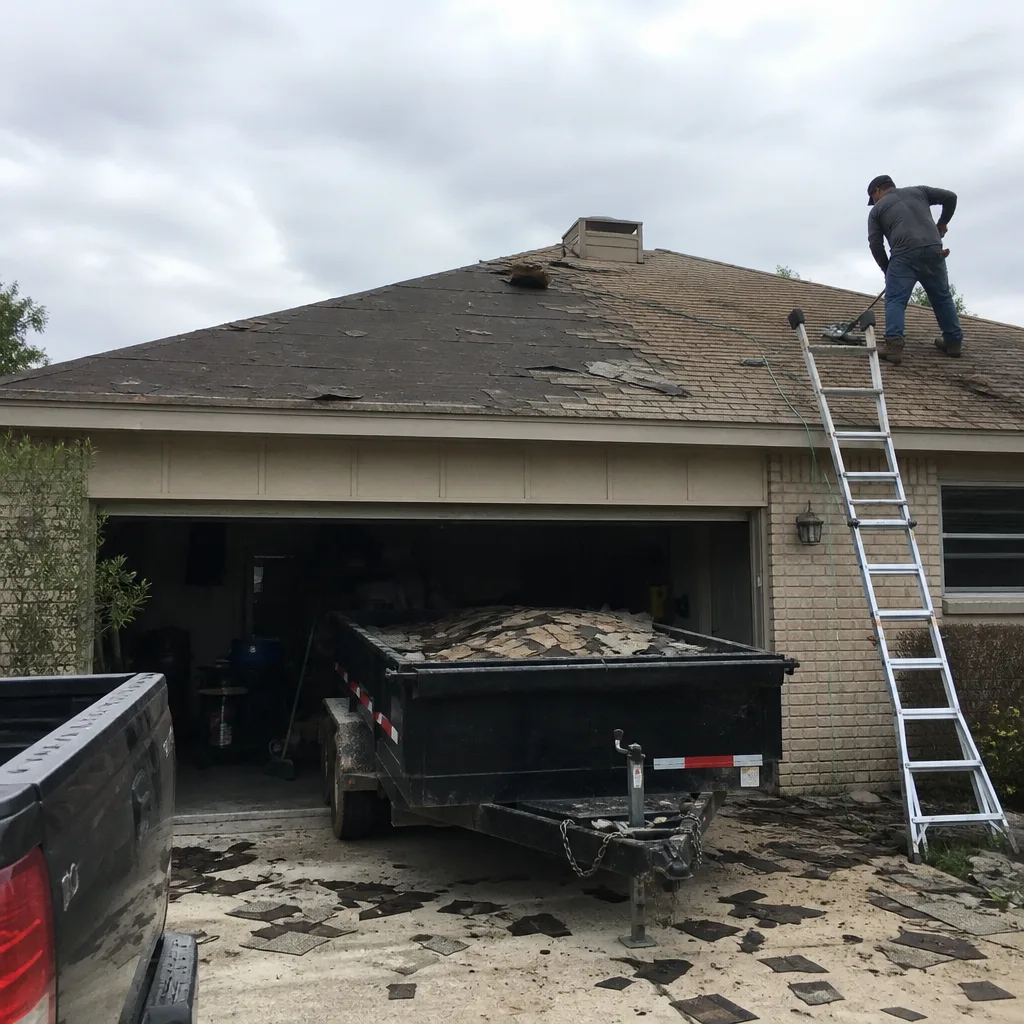 Before
 After
After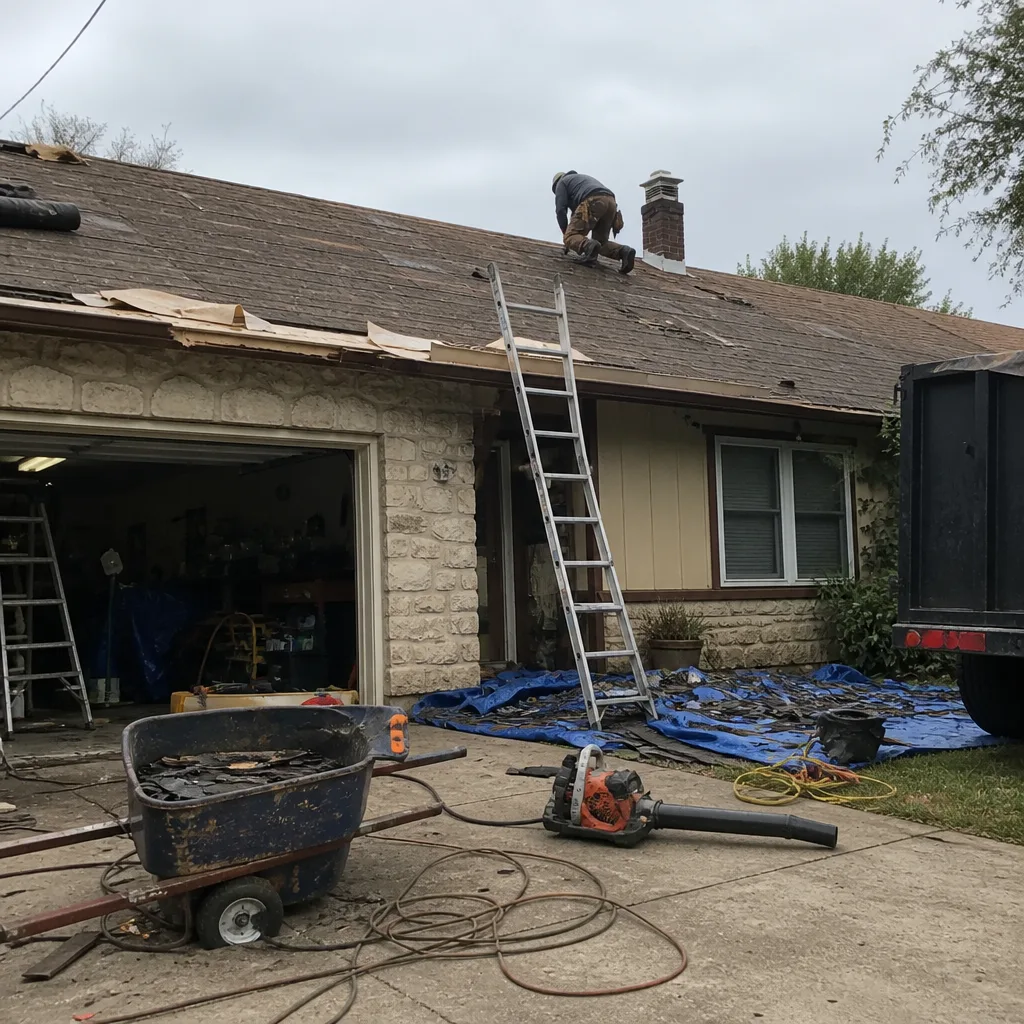 Before
 After
After